
Introduction and Motivations
In 2021, I was incredibly excited to move into a networked home with hardwired network drops that offered a couple of advantages. First, I can provide better content delivery to TVs, gaming consoles, and computers with hardwired connections. Second, I can provide blackout-proof power to wireless access points by using Power over Ethernet.
Selfishly, I also used the move as a catalyst to “Cosplay as a Sysadmin,” as Jeff Geerling puts it. After some research, purchases, and several hours of setup, I’ve been able to implement some practical, quality-of-life-improving solutions that I use on a daily basis, including home automation, content streaming, and network administration. I’ll be publishing a number of blog posts that go into detail about how I designed my home network, what I’ve learned, and the challenges I faced along the way. I hope you continue reading to follow along.
Matching and Terminating the Network Cables
The effective MDF (Main Distribution Frame) Room where all the cabling came together was a closet in the mudroom of the home. While it was convenient to have the network and whole-home speaker wires meet in one location, I encountered three problems:
- The cable ends were unterminated, with no RJ45 jacks.
- The cables were so poorly marked with permanent marker that I couldn’t identify which cables went to which room in the house.
- The speaker wiring was visually indistinguishable from the network wiring, adding to the confusion.
The first order of business was to determine which cables went where. For that, I used a cable tracer from Klein Tools: Tone Generator on the left, Wand/Probe on the right Cable Tester Tool Home Network with a focus on labeled, color-coded Ethernet cables


Hardware
The MDF room is the base for several network services that run in my home. Below is a diagram of the hardware present, and their respective purpose: Home Network Diagram
Routing and Switching:
- Xfinity Modem: A transparent bridge between the ISP and the Ubiquiti Router
- Ubiquiti Router: The primary routing control plane which manages:
- DHCP reservations to keep IP addresses constant for key appliances
- VLANs for security
- Unifi Controller
- The centralized manager for configuring/managing Unifi network devices, which in this case includes:
- One 24-port Power-over-Ethernet switch
- Four Wireless Access Points
- The centralized manager for configuring/managing Unifi network devices, which in this case includes:
Network Services
Home Automation
- Home Assistant: An open-source home automation platform designed to control and manage smart home devices.
Home Lab Operations: This server uses Ansible playbooks to:
- Configure backups for network services and upload them to Google Drive
- Applying configuration changes to my stateless MacOS computers
Home Streaming
- Network Attached Storage: A 2-bay, 28 Terabyte NAS for storing video content
- Jellyfin: An open-source media server software that allows users to manage, organize, and stream their media content
Ventilation/Cooling
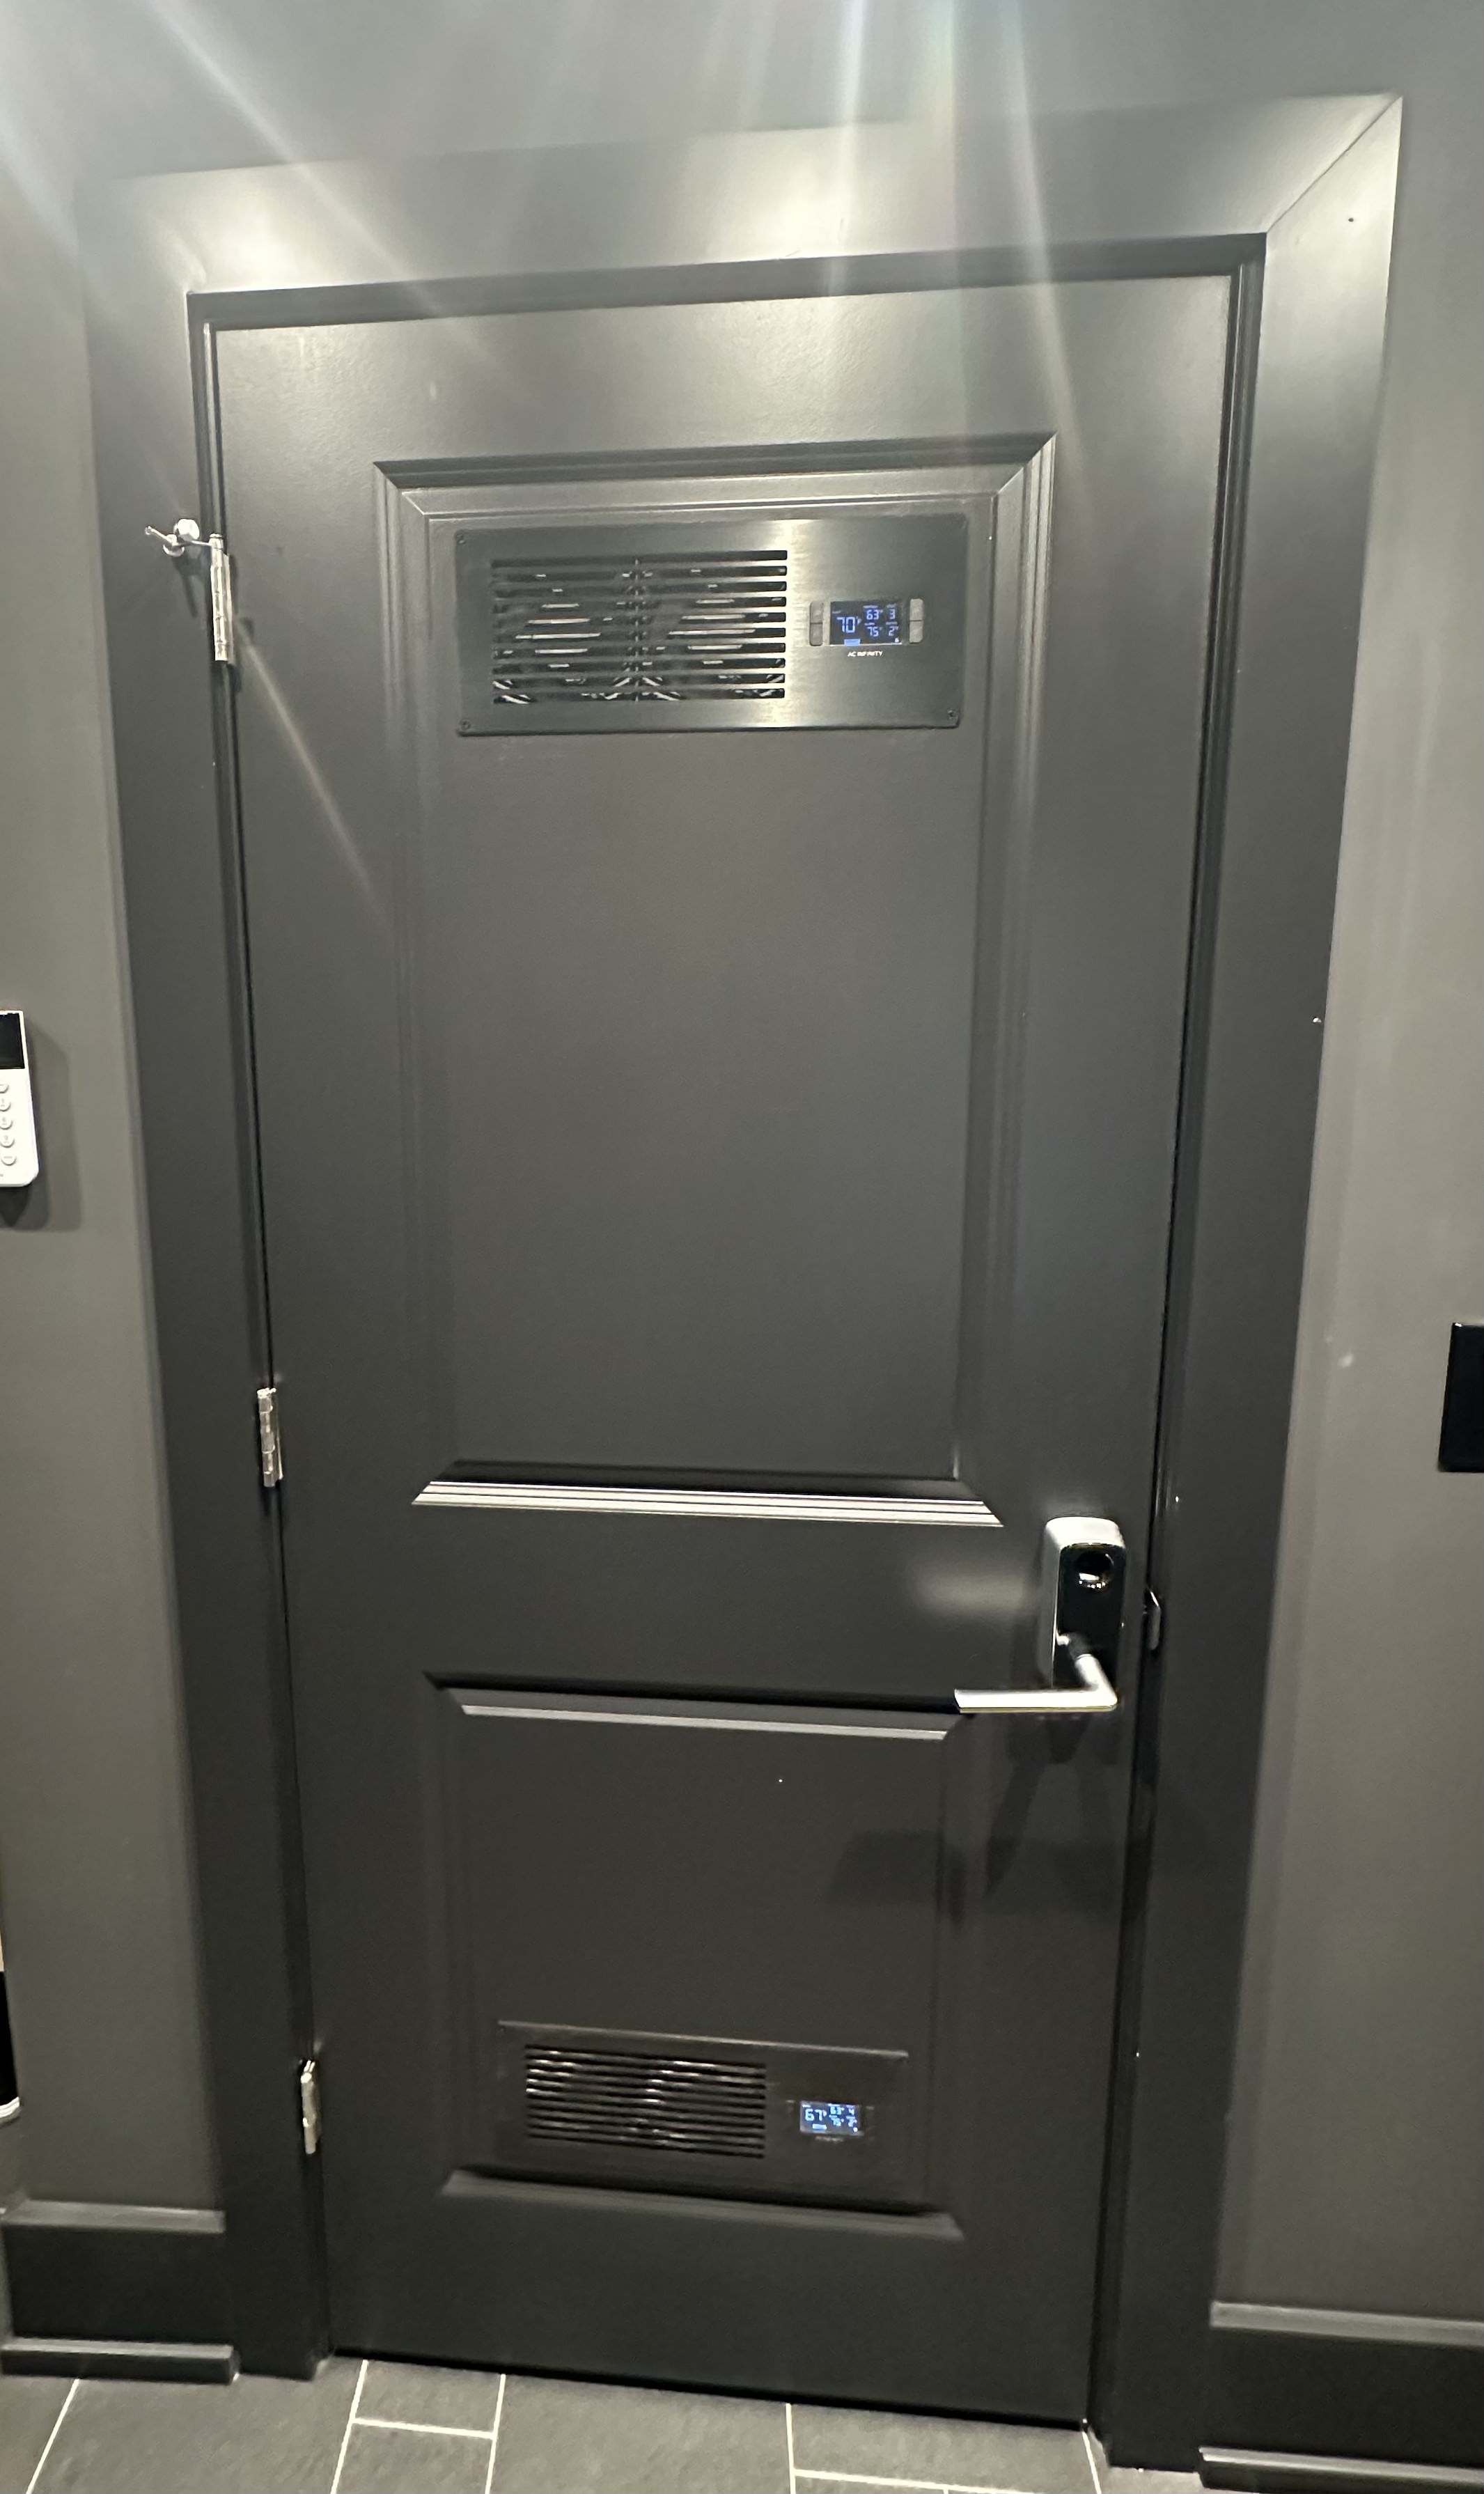
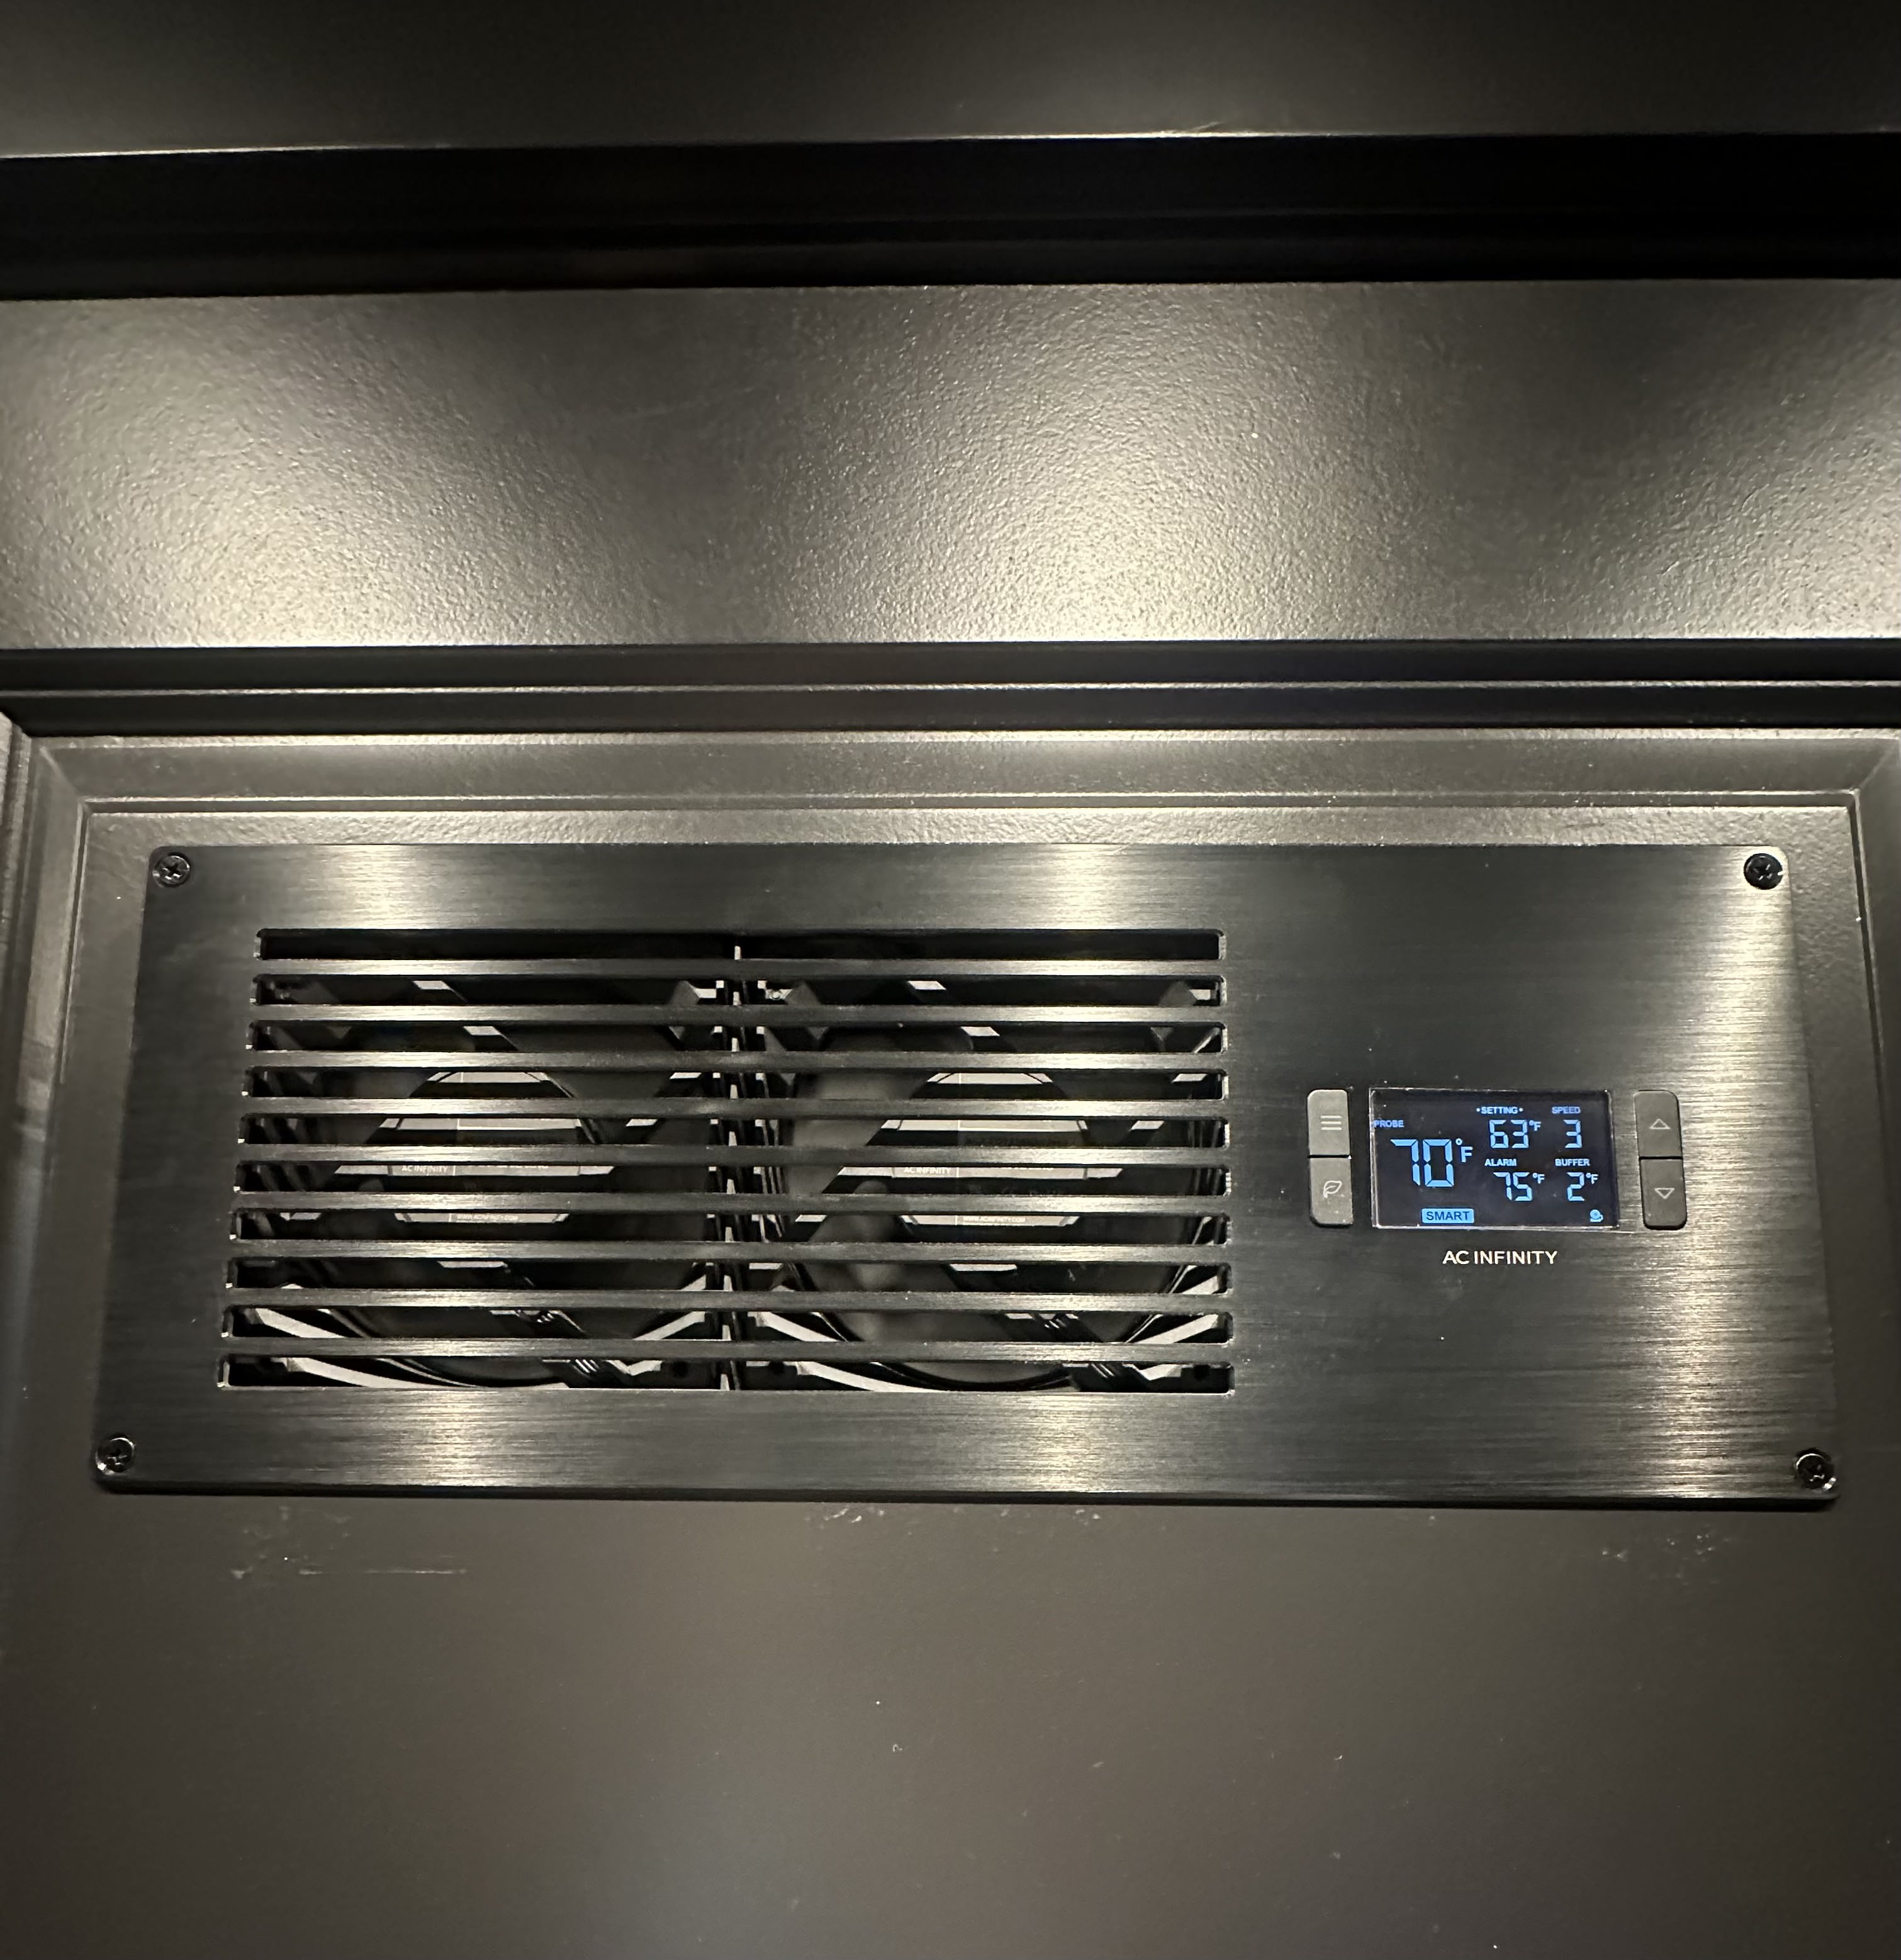
This closet is relatively small, and while there is plenty of space for the equipment itself, the heat generated by everything creates an overheating risk for one or more components. In order to mitigate this, I bought two AC Infinity AIRFRAME T7 fans, one for exhaust and the other for intake. Each fan comes with a temperature probe and changes the operation and rotational speeds based on the current temperature readings. To place them into the MDF door, I called upon my woodworker friend Mark Hooper, who brought by a portable circular saw and cut perfectly sized holes. The finished look is below:
Local Configurations and Power/Equipment Backups
While all of my servers are accessible remotely via SSH or VNC/Windows Remote Desktop, there are times I want to be able to stand and work at the closet itself. For this, I velcroed a portable monitor to the right side of the closet, which I power with a travel power bank when necessary. I also keep an HDMI cable and USB keyboard with trackpad, so that I can connect to any server I am actively working on:
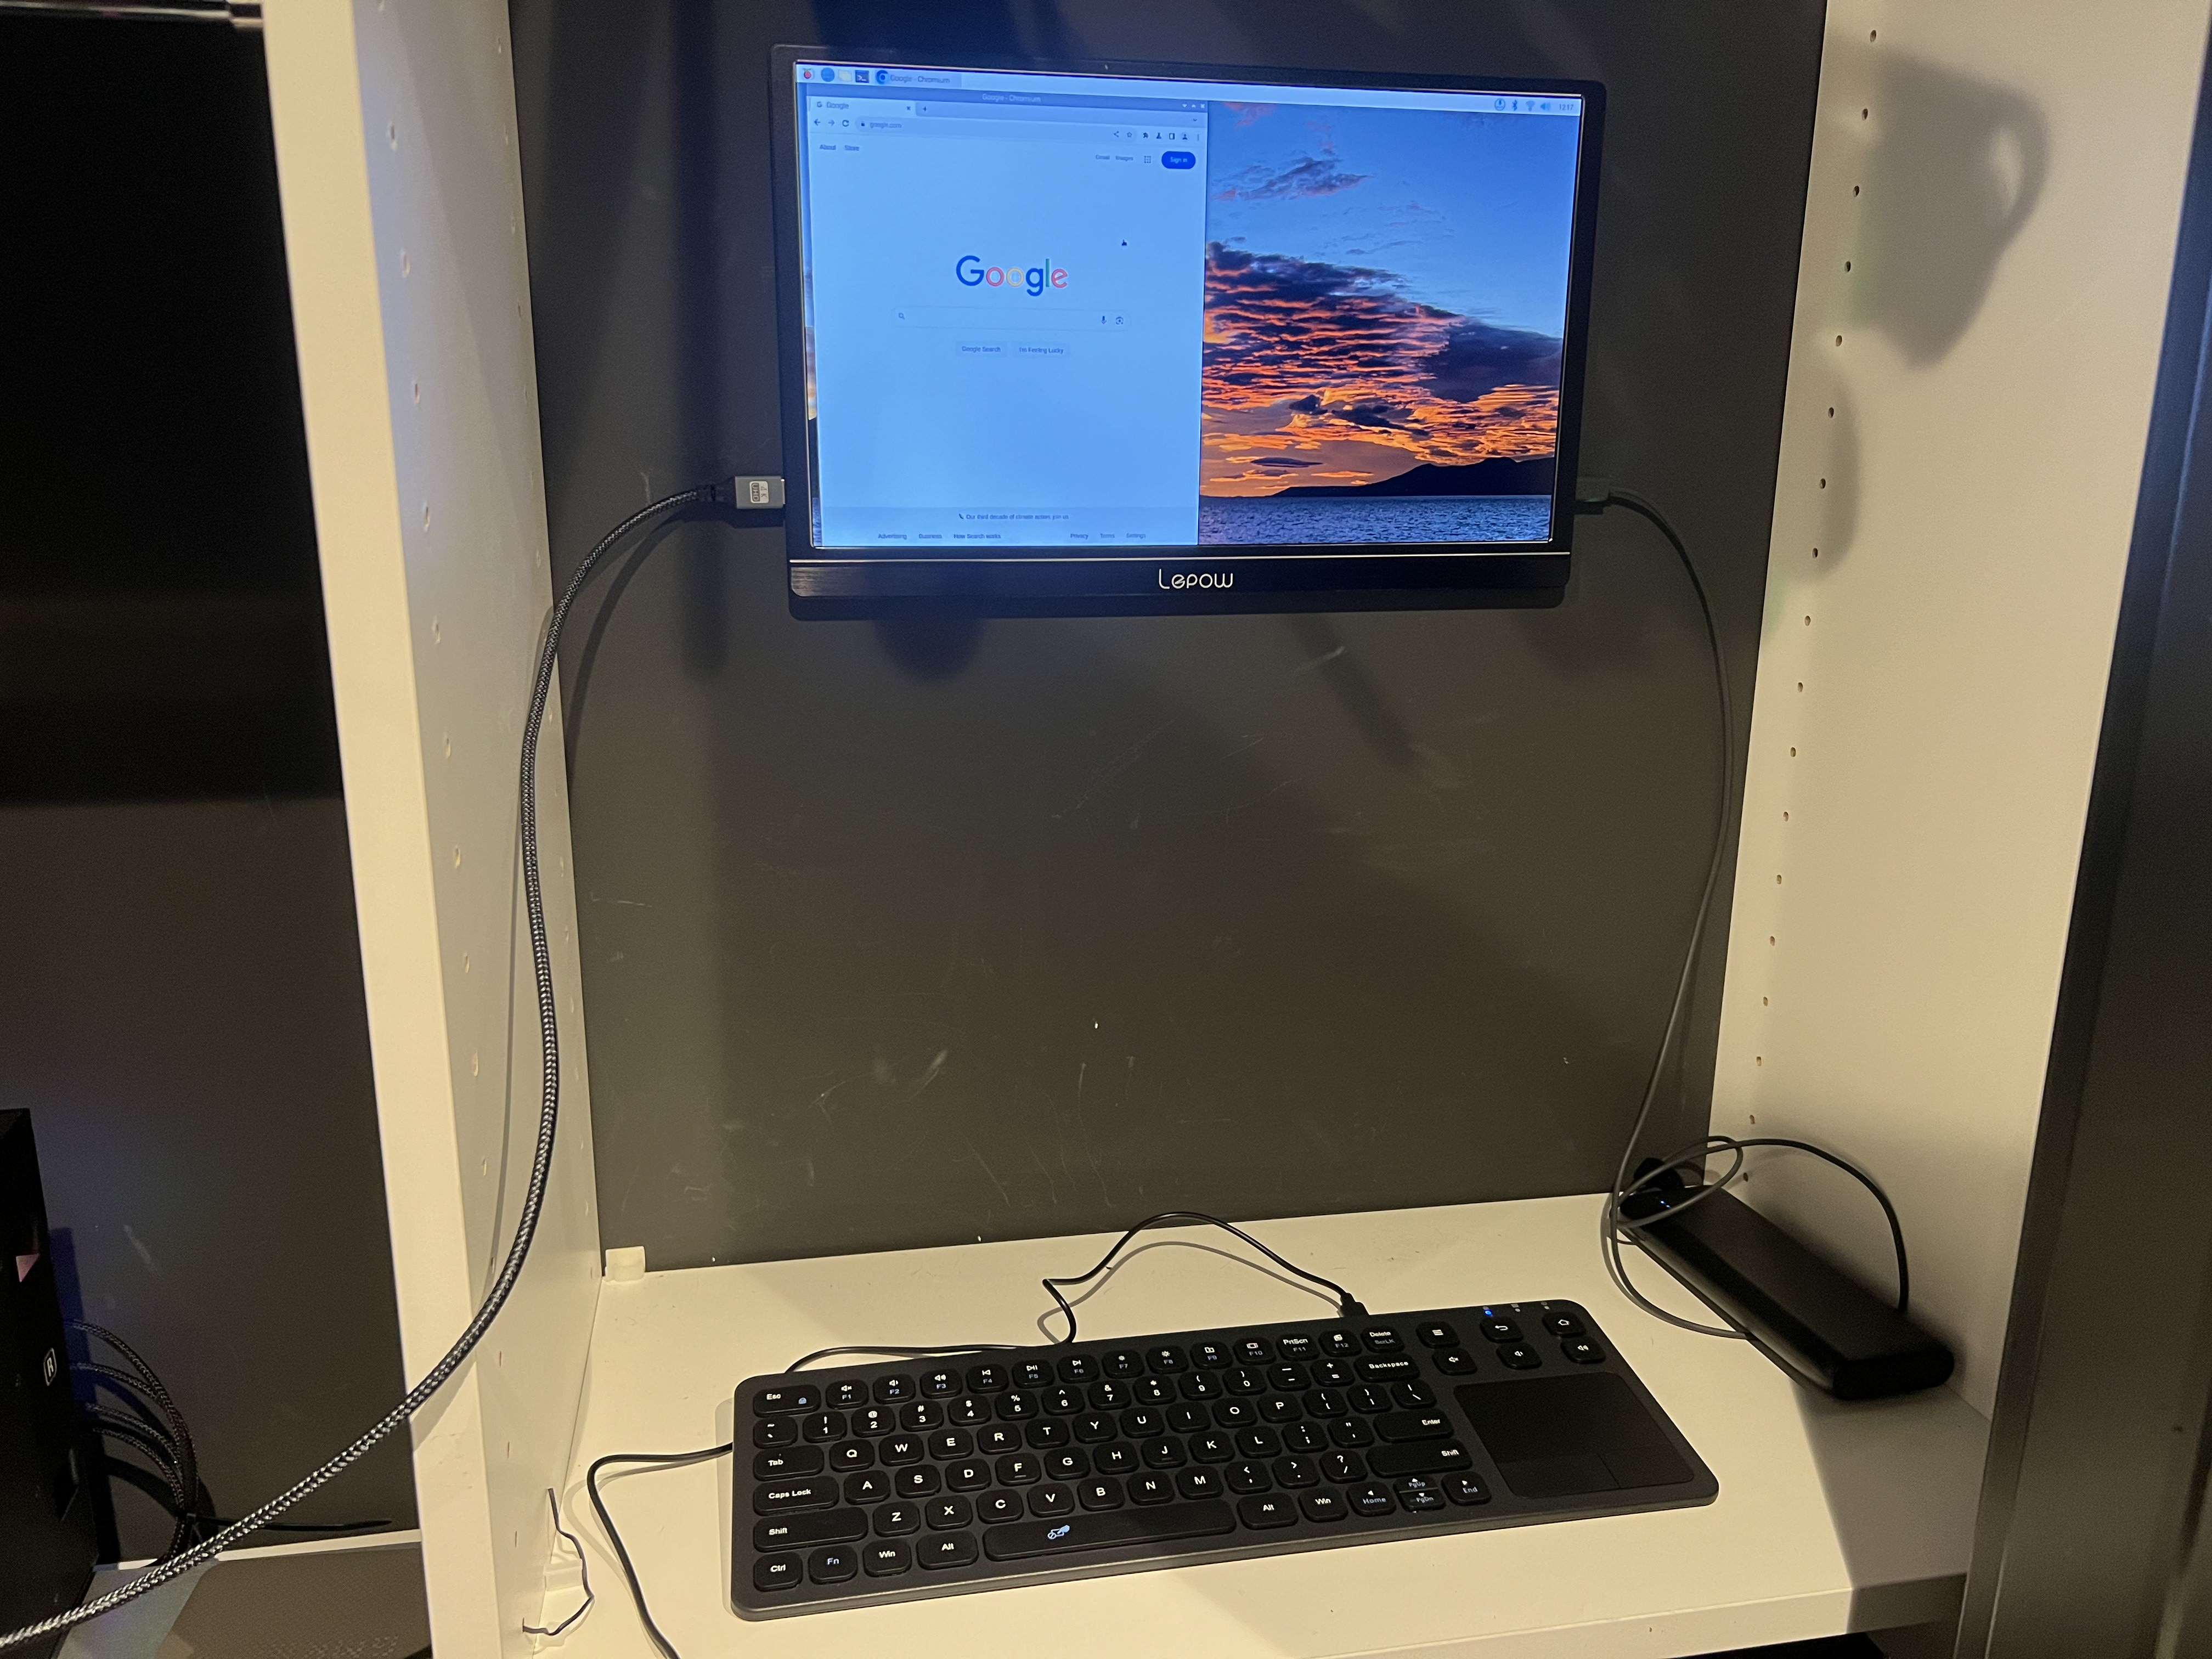
Monitor and Keyboard with Trackpad for local configurations
Lastly, In the event of a power outage, I have a Cyperpower CST150UC-FC Uninterrutible Power Supply, which will provide at least 1 hour of wireless internet to my critical mobile devices.
Conclusion
As I continue to explore and refine my home network setup, I look forward to sharing more detailed insights into each of the services and configurations mentioned above. Over the next few months, I’ll be diving deeper into how I’ve set up and use tools like Home Assistant, Jellyfin, Pi-hole, and more. Each entry will provide a step-by-step guide, challenges encountered, and tips for anyone looking to implement similar projects. Stay tuned for these upcoming posts, and join me on this journey of optimizing and enjoying the benefits of a well-networked home!